Process
How an idea becomes an object here.
The same six steps every time, since August 2024. It is not a philosophy; it is a routine that fits in a week.
- 01
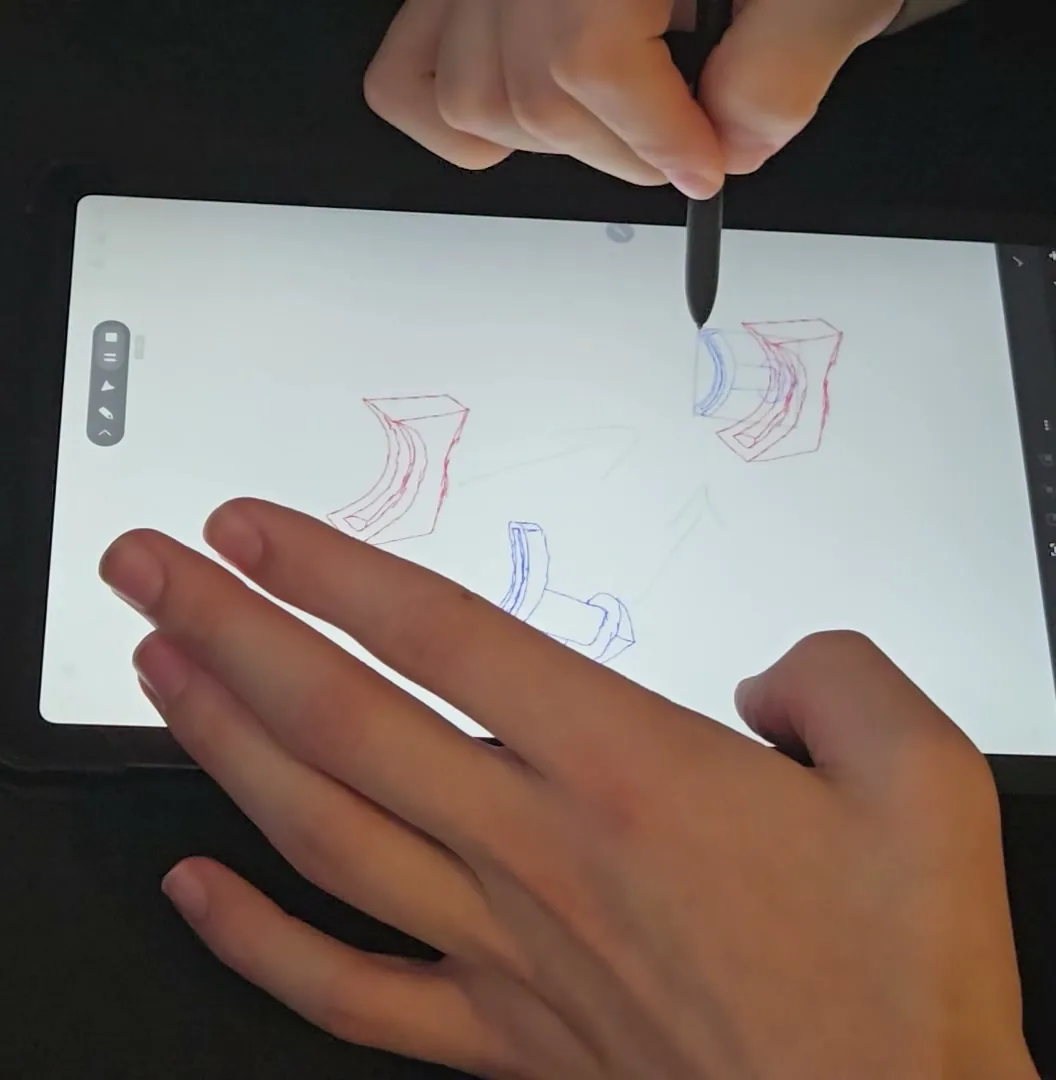
Draw it by hand
On a tablet, in two colours, so the new geometry reads against what is already there. The mechanism gets decided here, on paper, before anything is measured. Most objects are settled or abandoned at this step.
- 02
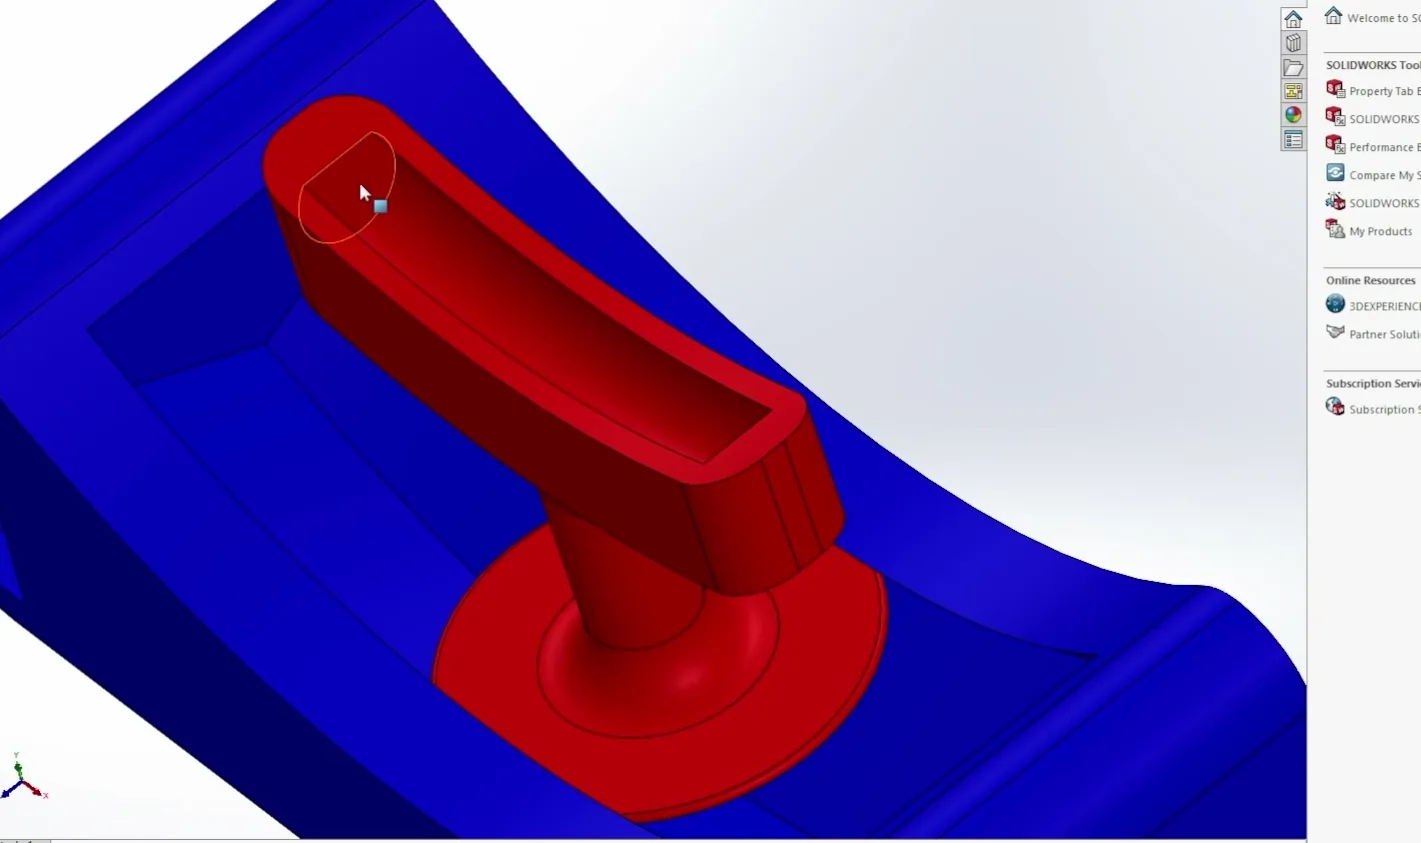
Model it
The sketch becomes a solid in SolidWorks. This is where the idea meets dimensions, and where most of them change — the drawing is allowed to lie about clearances and the model is not.
- 03
Render it on white
Object alone, no scene. If the thing cannot be understood from one still on a blank ground, the shape is not finished yet — so the render is a test, not a presentation.
- 04
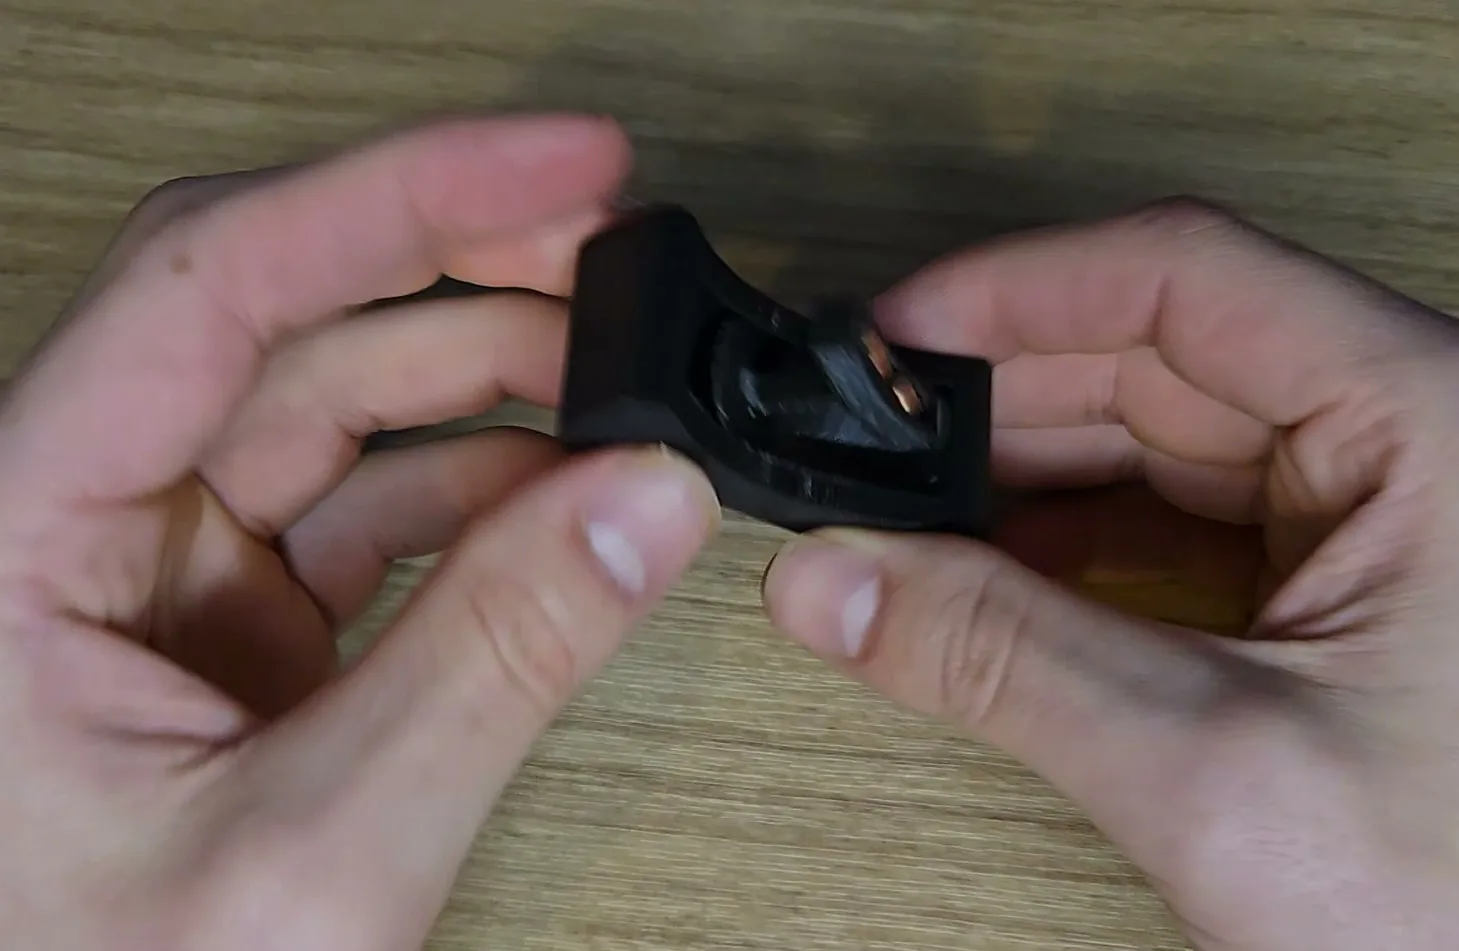
Print it
FDM, usually within the same week, usually in whatever colour is loaded. The print is the first honest opinion anybody has offered: tolerances, overhangs and wall thickness all answer back at once.
- 05
Use it, or fail it
It goes on the bench or on the desk and gets used for real. Objects that quietly stop being used have failed, and saying so is part of the step.
- 06
Number it and move
It gets the next number in the sequence and the next idea starts. Nothing waits for the previous thing to succeed — which is the only reason there are 128 of them.
Two steps are missing from that list and their absence is the practice's real bottleneck: making more than one, and selling it. Exactly one object has ever cleared both.
The same object, three times
One object through the method: Groovey, a thumb slider from the 2025 run. Step 03 is missing here because you have already seen it — the render on white is the plate at the top of every page in this exhibition.